Blogging is a great way to share your thoughts and knowledge with the world. You're reading this, so clearly that worked. But the options for how you can create your blog are virtually unlimited and finding the right tool for the job can be overwhelming.
That's why I created Inert. It's a dead-simple HTML, CSS & JS based static site generator. Write posts in markdown, get a website. But there's more than that. Everything, and by that I mean literally everything can be customized. You're not forced to have a website that looks like the default template for the tool you use. Probably the most important reason to use inert is the insane performance. Here's an audit for my blog:

As you can see, eventhough my extensions negatively influenced the page load performance, it still scores 100%.
Also, Inert was built to work for way more than just blogs. You can build a documentation site, a portfolio, and much much more.
Setting up the tools
You won't need many tools for this, but a couple of things are necessary. First, you'll need to install node.js.
Once you're done, install the inert-ssg package:
npm i -g inert-ssg
If this doesn't work, make sure node.js is installed correctly and create an issue to let me know about it.
Creating your project
You can create an inert project with the inert init command. However, this is an extremely bare-bones template, so I recommend you use my blog as a template instead. You can use any GitHub repository as a template:
inert init --template=codemaster138/codemaster138.github.io
Customizing
You should now have an exact copy of my blog's source code (including posts). The first thing you'll want to do is delete everything in the posts and assets directories.
Important: just after downloading, you must delete the
docsdirectory. This is so that posts from my blog don't show up on yours. You won't have to delete the folder again later, though. Just make sure you do it just after downloading.
Now, the blog currently has my name all over it, so let's change that to yours. Open the inert.config.js file and search for this:
...
{
title: "Jake Sarjeant",
authors: {
"Jake Sarjeant": {
description: "Owns this blog",
about: `Hi! I'm Jake. I'm a web developer 👨💻, web designer 🎨, and space enthusiast 🚀🛰. I am also
quite interested in decentralization, cryptocurrency and blockchain, and I hope to be able
to write more about those topics in the near future.`,
avatar: "/assets/avatars/avatar.png",
},
},
}
...
Change the title, description and author name to fit your blog. Now, place your avatar in the assets folder and replace the avatar key with /assets/{your-avatar-path}.
Depending on the topics of your blog, you might also want to adjust the tags. I think the tags section (should be just underneath the section I showed above) should be fairly self-explanatory. For reference: the key is used to reference the tag in markdown files, no one will ever see it. Instead, they will see the display name in color on bg (background). Every tag you want to use in your posts has to be configured here.
You may also notice the donation links at the bottom of every post. You can customize these with your own donation methods, or remove them entirely. If you scroll down a bit, you'll find a field called donations white a list of donation methods. What the properties of a donation do is fairly self explanatory. You can change the BitCoin and DogeCoin addresses to your addresses, or remove them and add other donation methods. If you don't want the donations section to appear at all, remove the donations field. You can always change it later.
Writing your first post
The most important thing about a blog is the posts. Let's write one! Every post looks like this:
---
title: 'Your post title'
description: 'Description'
time: Millisecond UNIX timestamp of when you wrote this post
cover: '/assets/{cover-image}'
author: 'Your Name'
tags:
  - tag_1
  - tag_2
  - tag_3
---

post content here...
Most of these should be obvious, so I'll only go over the ones that aren't:
time: In your terminal, runnode -e "console.log(Date.now())". This will give you what's called atimestamp. It saves that date and time when your post was written. You should create a new one each time you write a post.author: When we updated the configuration, we changed theauthorsobject. Each key there corresponds to one author. If you set the key to "Jeff", put "Jeff" here, if you set the key to "Joe", put "Joe" here. Remeber, you have to use the key.tags: A list of keys from thetagssection
Note: Some of these features (tags, authors, covers) may not work in other templates. They are custom features I built for my blog.
Write your post where it says “post content here...” and save it in a markdown file called mypost.md, or whatever you want to call your post, in the posts folder.
The way I've set it up, every post needs a cover image. Create or download an image for the cover and drop it into the assets folder. Then set the cover field in the post to match the cover image.
Note: My blog template automatically generates a sitemap. If you want google to crawl correctly, there's one thing to pay attention to: If you modify a post you've already published, add a field called
lastmodright undertimeand set it to a brand-new timestamp. Otherwise, google will not crawl your updated page.
Building the Site
Right now, you have images, tags and a markdown post. That's a great way to manage your posts, but it's not quite a website. To turn it into one, open your terminal and run
inert build
Depending on how many and how large your cover images are, this might take a while the first time you run it. That's because it creates optimized versions (Essentially you don't need a 1024px image on a smartphone, so Inert scales the images down for you). It also creates copies of the images that it converts to webp, because it's a way more compact format.
Inert keeps track of which images it has alread optimized, and it won't optimize an image again if it doesn't have to, so subsequent runs should be way faster.
Once the command is done, you should see that the docs folder that I told you to delete earlier is back now. This folder contains the compiled files. It is called docs because for some reason GitHub pages requires the folder to be called that. As I said earlier, you don't have to delete the folder again, unless you want to get rid of a post that you want to un-publish.
To see what the website looks like, open your terminal and install serve. It's a little server for testing projects like this:
npm i -g serve
Now, run
serve docs
You can now view your blog under the url http://localhost:5000. Once you're ready to publish your blog, go to GitHub and create a new repository called {your-github-username}.github.io. If you already have a repository called that, delete it and create a new one.
Note: When creating a new repository, make sure NOT to enable "add a license" "add a gitignore" or "add a README".
In your terminal, run:
git init
git add .
git commit -m "publish posts"

git remote add origin https://github.com/{your-username}/{your-username}.github.io.git
git push -u origin master
If you add or change a post and want to publish the changes, make sure to run inert build. Once it's finished, you can publish your changes using:
git add .
git commit -m "publish posts"
git push
Configuring GitHub pages
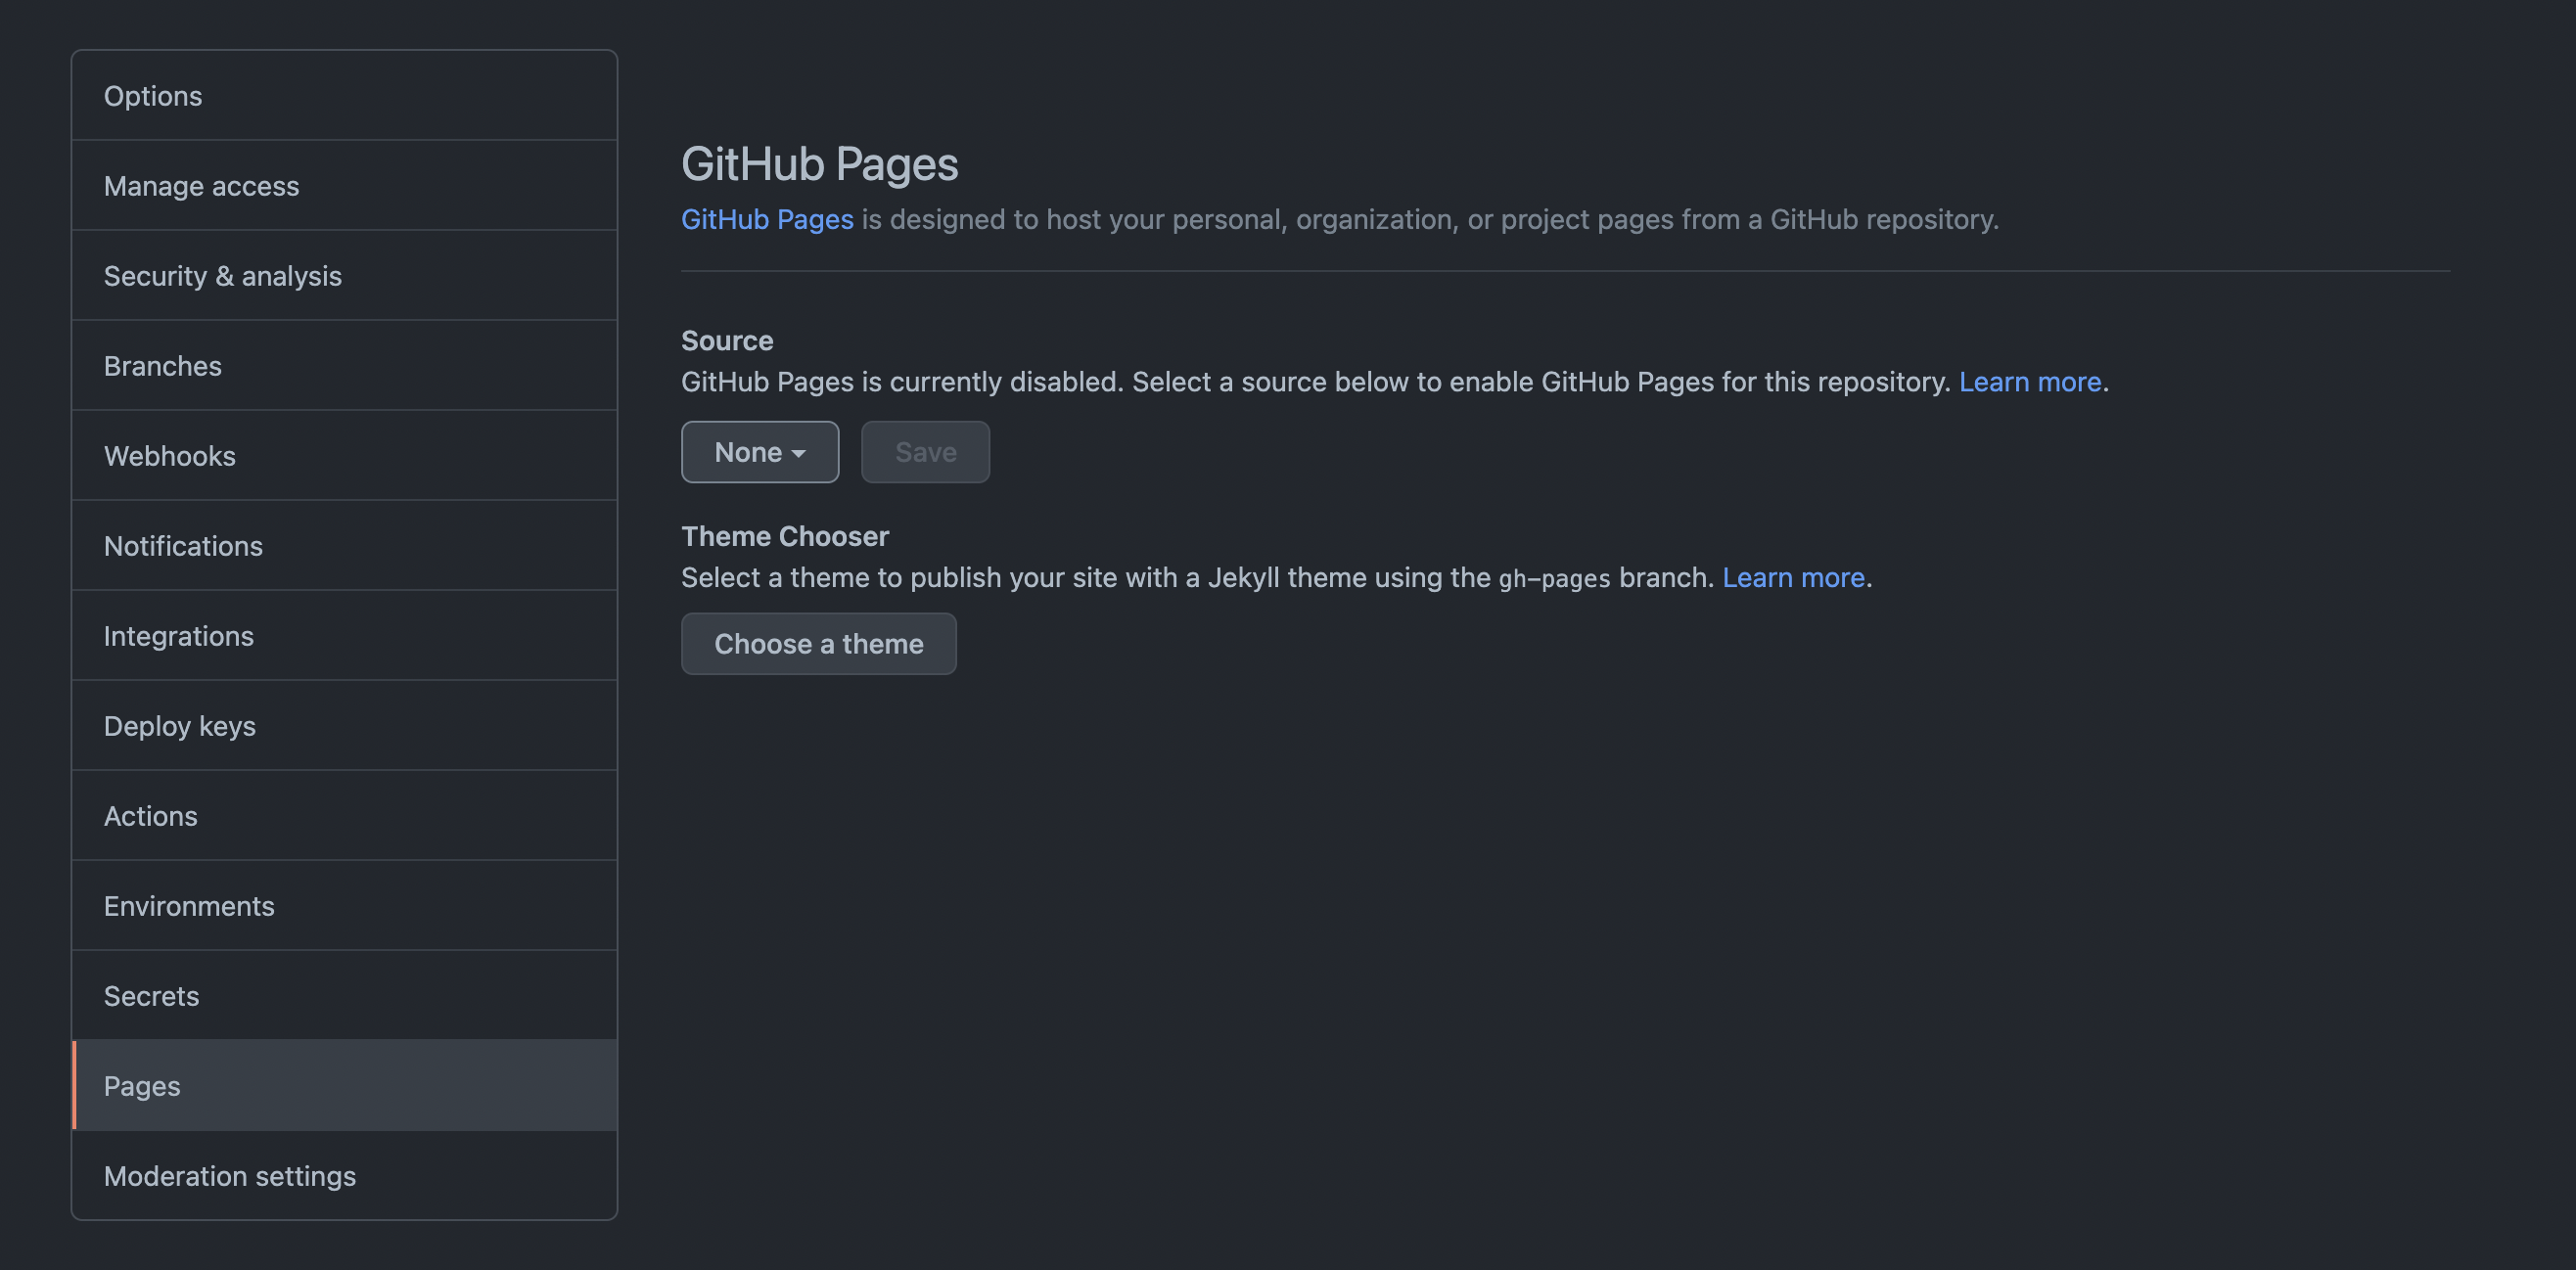
The very last step is to make sure that GitHub pages servers from the right folder. In your browser, open github and navigate to your repository. Switch to the settings tab. On the left, you should see a tab labeled “Pages”. Click on it.

Under “Source”, select “master”. Now, a new dropdown should pop up. Change it to “/docs” and hit save.

Conclusion
Congrats! You now have your very own static blog! I hope you learned something! Check back in next month for lots more posts on programming, cryptocurrency and much more.
